
How to encrypt photos on Windows (free)
Some photos are just for you. Locking them on Windows is free and quick — but photos have a twist that most guides skip: copies of them often already sit in the cloud and in Windows' own caches. Here's how to encrypt your photos properly, and clear the leftovers so "private" actually means private.
Step 1: stop them syncing to the cloud first
This is the step people forget. If your photos live in a folder that auto-syncs — OneDrive's Camera Roll, Google Photos backup, iCloud for Windows — then a copy is already on someone's server before you encrypt anything. Do this first:
- Move the photos out of any synced folder (OneDrive, Google Drive, Dropbox) into a local-only folder, e.g.
C:\Users\You\Private. - Turn off camera/photo backup in OneDrive settings and any Google Photos / iCloud desktop app.
- If copies were already uploaded, delete them from the cloud too (including its trash/recently-deleted).
Step 2: encrypt the photos
Now lock them locally. Two good free options:
Option A — a password-protected 7-Zip archive
Install the free 7-Zip, select your photos, right-click → 7-Zip → Add to archive, choose the 7z format, set a password and tick Encrypt file names. It uses AES-256. Good for a one-off bundle you'll tuck away.
Option B — encrypt the folder with a dedicated app
For a whole folder of photos you'll keep adding to, a dedicated app is smoother than repacking an archive each time. Clavis encrypts a folder in place with AES-256-GCM, on your PC, and gives you a recovery key in case you forget the password.
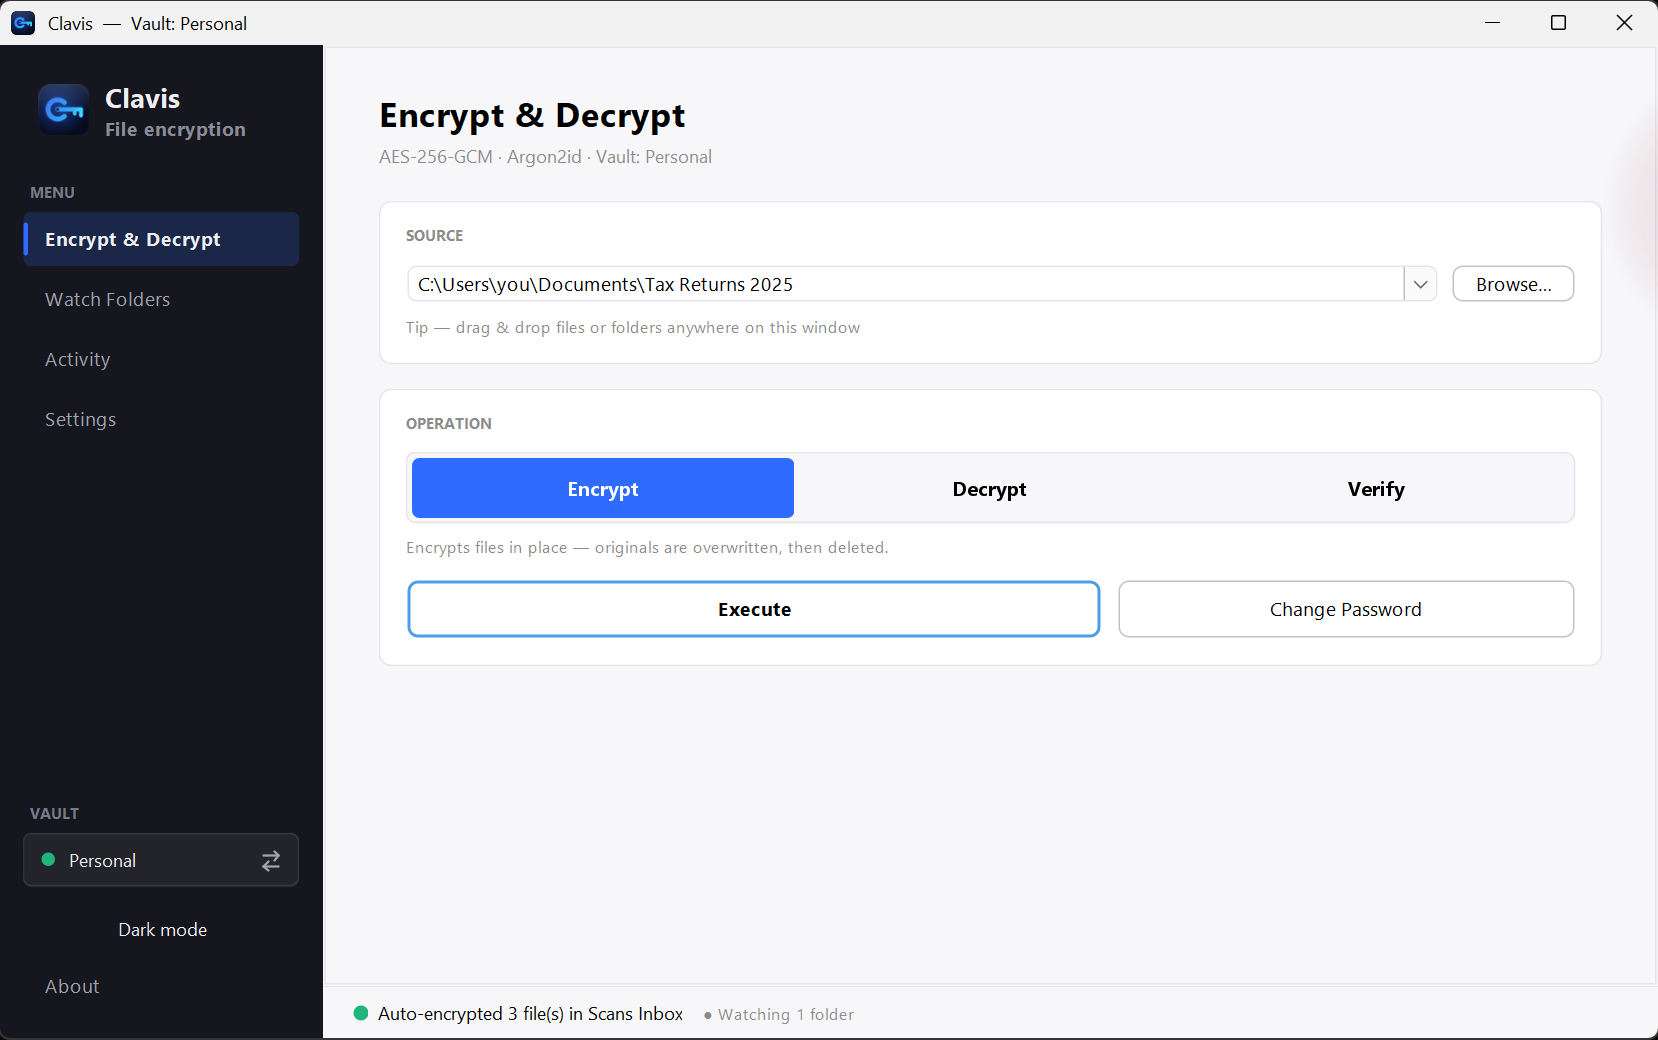
On Windows Pro? You can also right-click the folder → Properties → Advanced → Encrypt contents to secure data (EFS). It's tied to your Windows account, so export the key as a backup — and note it doesn't help if someone is already using your unlocked account.
Step 3: clear the leftovers (the part guides miss)
After encrypting, plain copies can linger. Tidy them:
- Delete the original photos once you've confirmed the encrypted copies open. (Deleting is best effort on SSDs — the OS may keep remnants — but it removes the obvious copies.)
- Empty the Recycle Bin.
- Clear thumbnail cache: run Disk Cleanup → tick Thumbnails. Windows caches small previews of your images.
- Check the Photos app and any editor's "recent files" for previews.
Two habits that decide everything
- Use a strong, unique password. Your photos are only as protected as the password on them.
- Keep your recovery key or password safe. Real encryption means a forgotten password locks you out too — store the recovery key somewhere separate.
Encrypting photos on Windows is easy; the discipline is clearing the cloud copies and caches around them. Do both and your private photos stay private. Clavis handles the encryption in two clicks — the Security page explains how.